|
So this post will be a little different but, hopefully, still of interest to most of you. One of the issues that holds me back from painting outside is all the equipment involved. I have streamlined my needed supplies significantly but still require a tripod, pochade box (to hold my palette, brushes, canvas, etc. Typically I have one largish shoulder tote bag and the tripod with a shoulder strap, and a wet painting carrier. In all honesty, setting up my stuff makes me feel moderately conspicuous, especially in public areas. I enjoy painting so much, but not becoming an attraction or nuisance (yes, that happened🙄). So I've been searching out a more low-key approach: a cigar box! With a small, all-inclusive box I could paint almost anywhere with minimal supplies and no tripod.
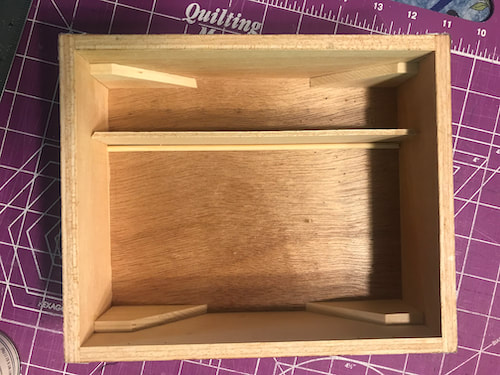
Step 1 was to locate all the YouTube videos and blog posts on how other artists tackled the upscaling of a cigar box and decide on what I needed my design to be. With the nice depth, I knew I could get at least 2 layers of storage, so the MacGyvering began with removing the flimsy hinges from the back and separating the lid and box.
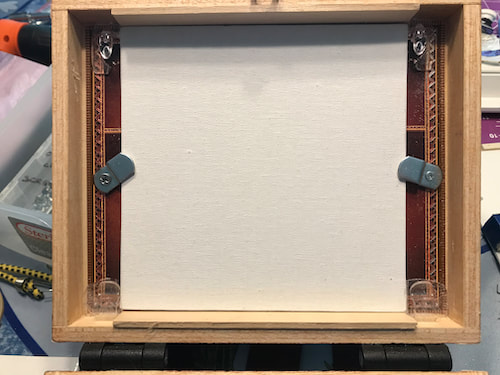
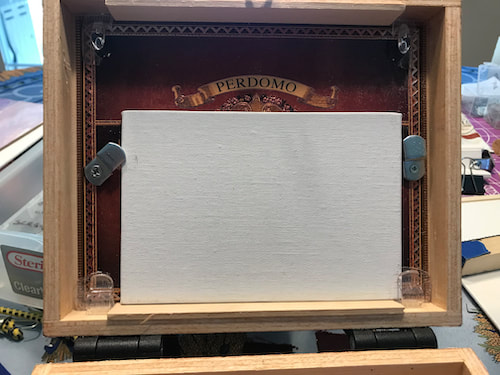
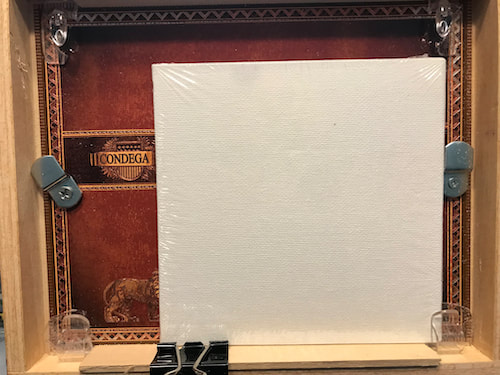
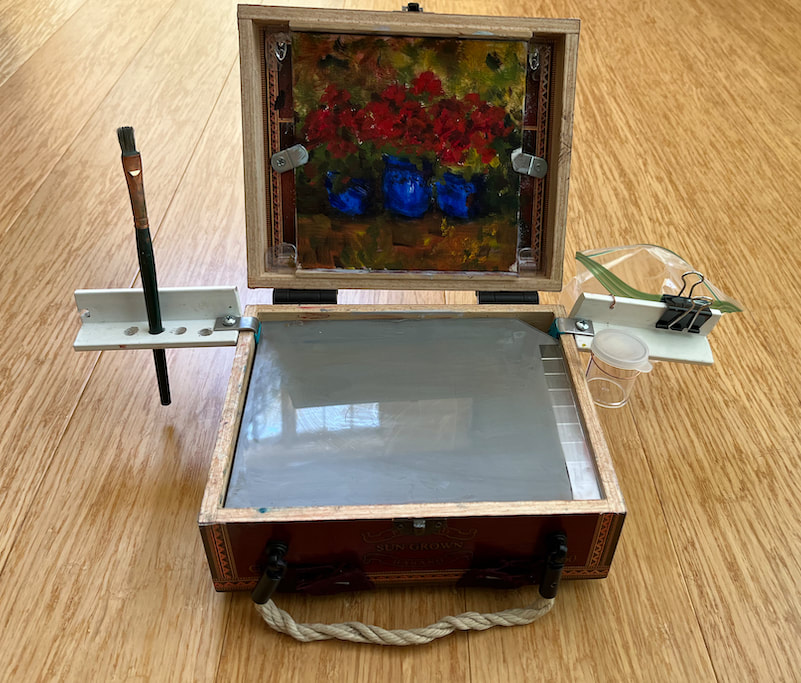
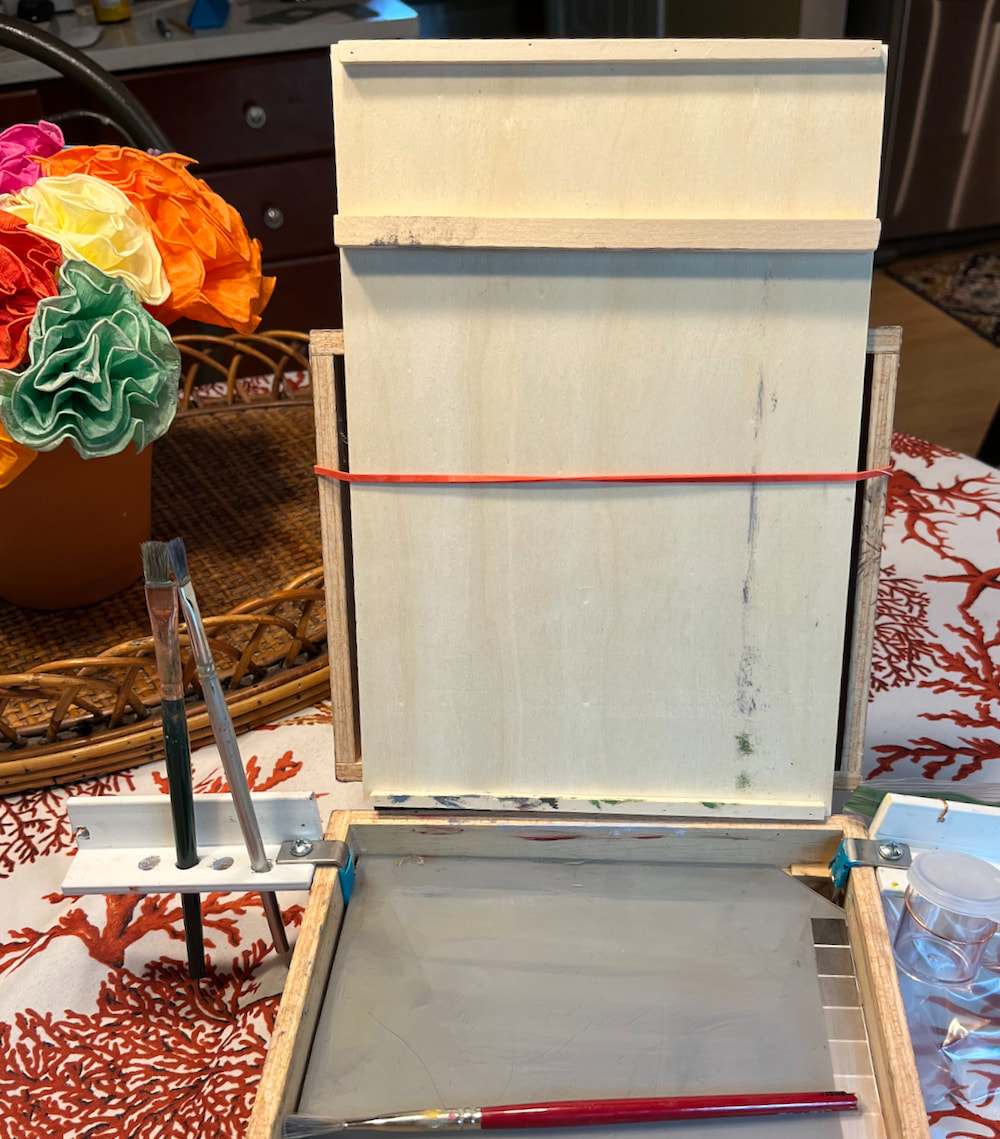
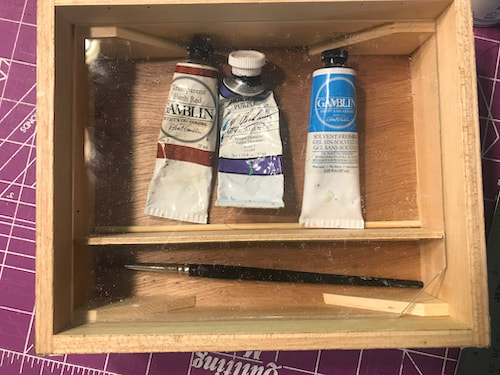 Paint tubes and brushes fit nicely in their compartments. Moving on to (step 3) the new torque hinges, which allow for the lid to stay in position while painting. I had to make a trip to Ace Hardware to get short screws that didn't go all the way through the box interior. Yes, I was a little nervous about doing this step, but it worked out fine. 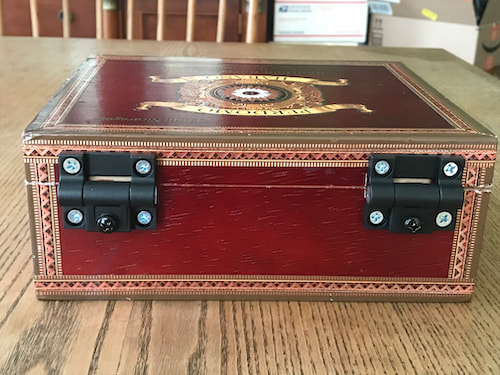 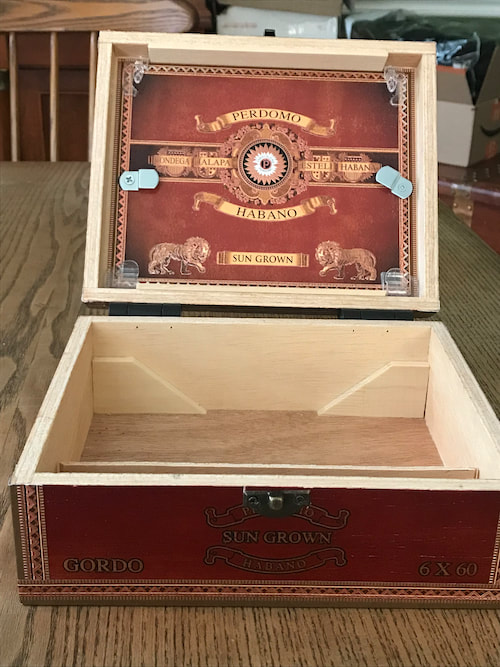 Step 4: Now to the lid...it has a 3/4" depth, perfect for small panels. It took me a couple of days to decide how I wanted to hold the panels in place and came up with two clip ideas: the first clips are metal 1/8" offset clips, attached with the tiniest screws I could find so they didn't perforate the outside of the lid. They're installed with a tiny washer so they swivel to hold a 6x6 panel in place. The second clips are the clear 3M Command clips, trimmed to hold a 4x6 panel but not get in the way when working on a 6x6 panel. I mistakenly put them at the top first, but taking them off would tear up the cool decal, so I left them and put 2 more at the bottom.
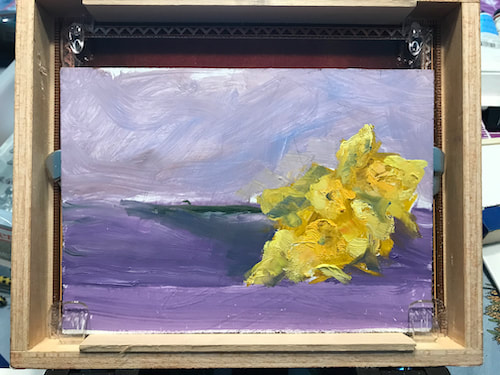
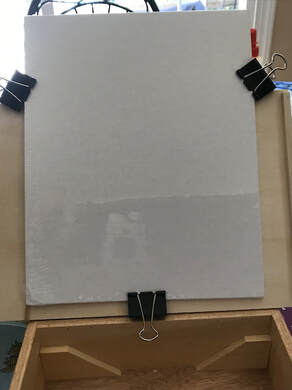
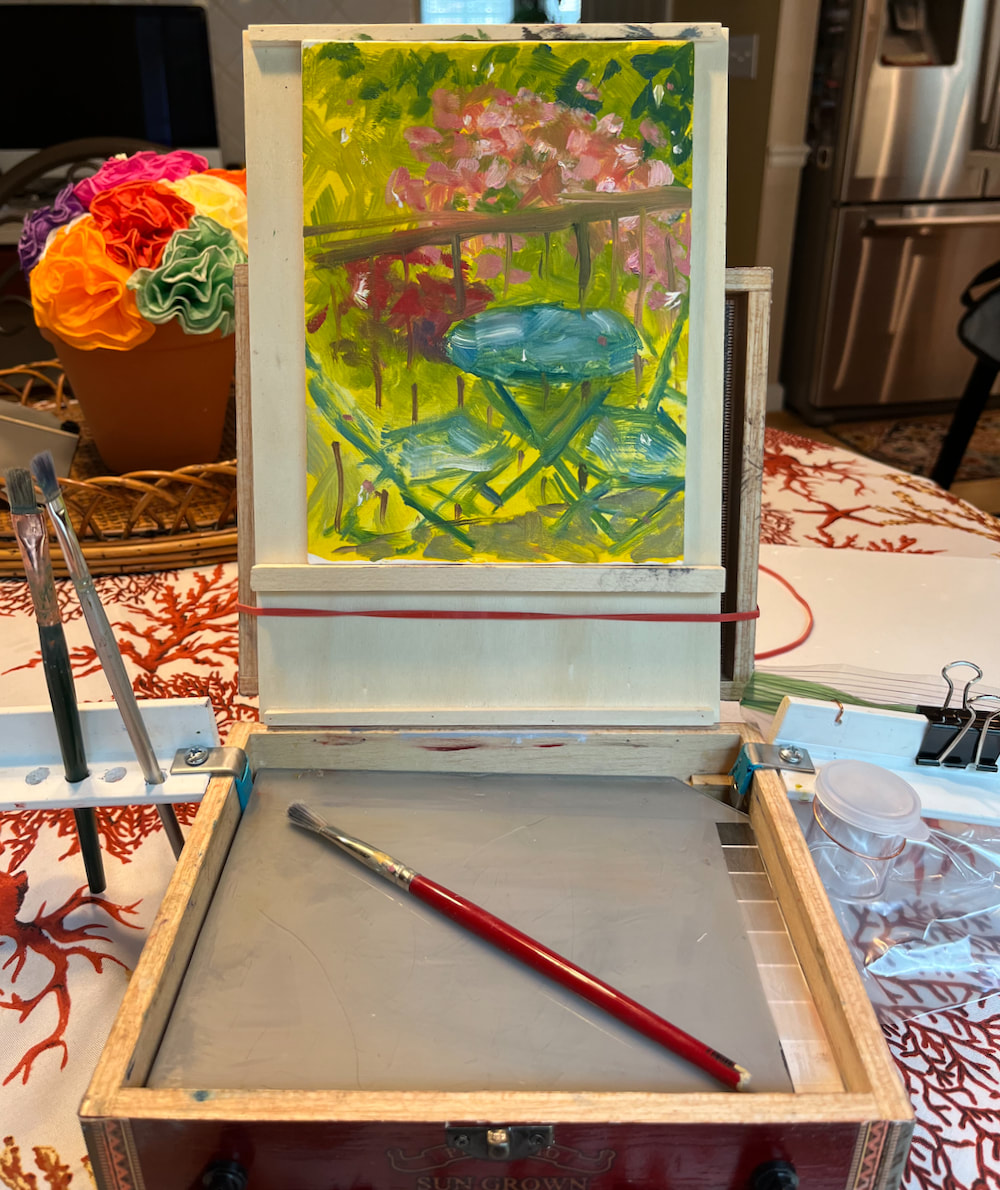
This is what the lid looks like with a 6x6 panel in place. The torque hinges allow for moderate brushstroke pressure, as well as being unaffected by wind or gravity. I glued 1/8" craft wood pieces above and below to make it easier to paint the panel edges. Several sizes of small panels will fit inside this box lid: 4x6, 5x5. 5x7, 6x6, etc.
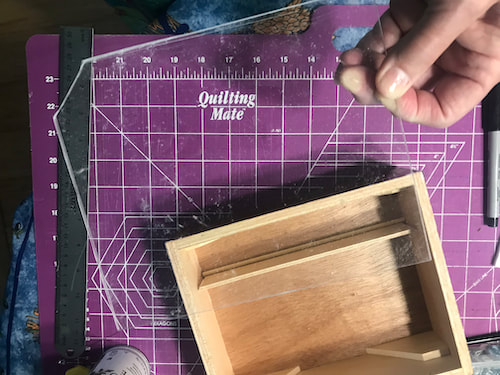
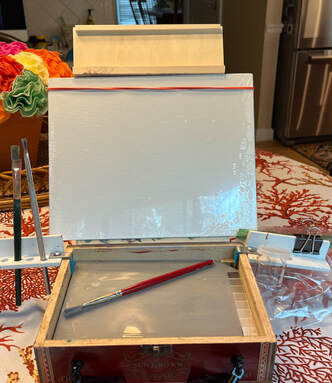
Step 5: To create the shelves, cut 2 rectangles of plexiglass to fit inside the box dimensions. Home Depot and Lowes both carry small sheets of plexiglass and it's relatively easy to cut with a sharp box cutter and ruler. 30 or so strokes with the blade and the sheet will snap apart with pressure. I painted the underside of each shelf with a mid-value gray acrylic paint and got a little fancy by adhering a value guide to one of the shelves. Cutting off a corner makes lifting them out much easier.
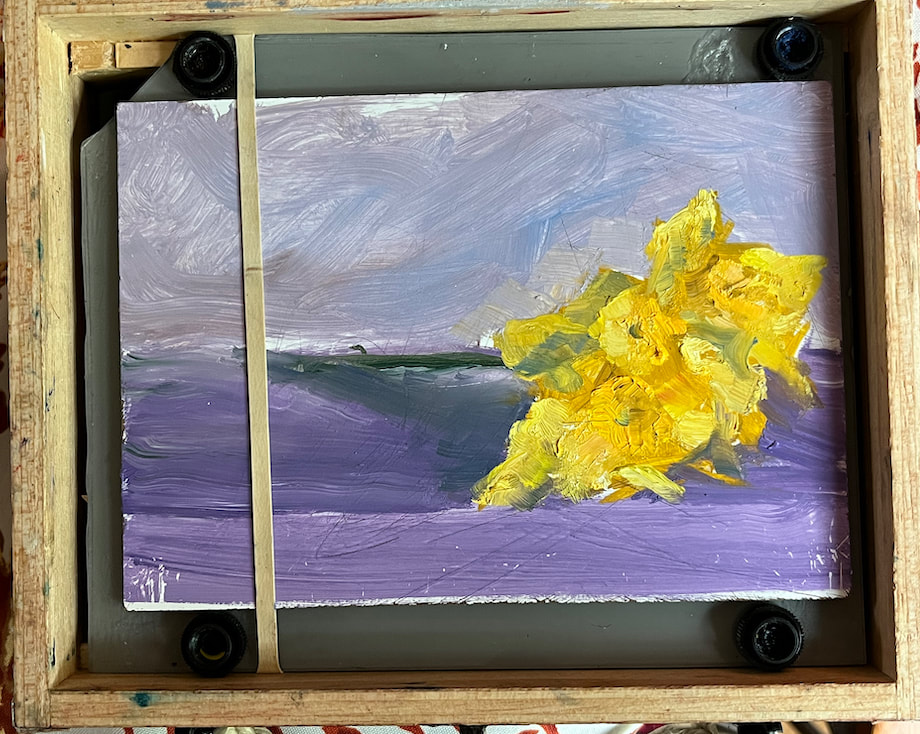
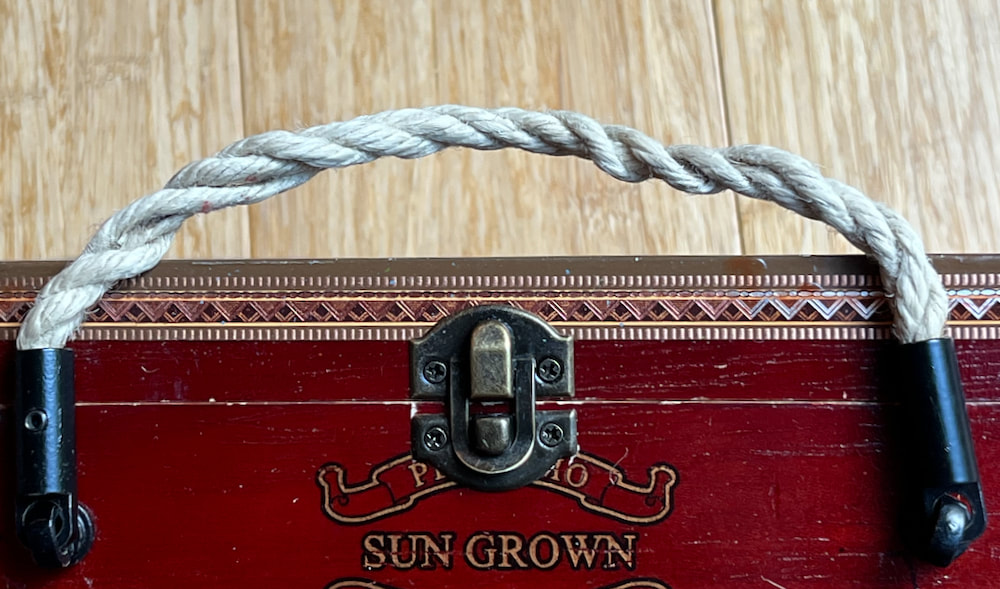
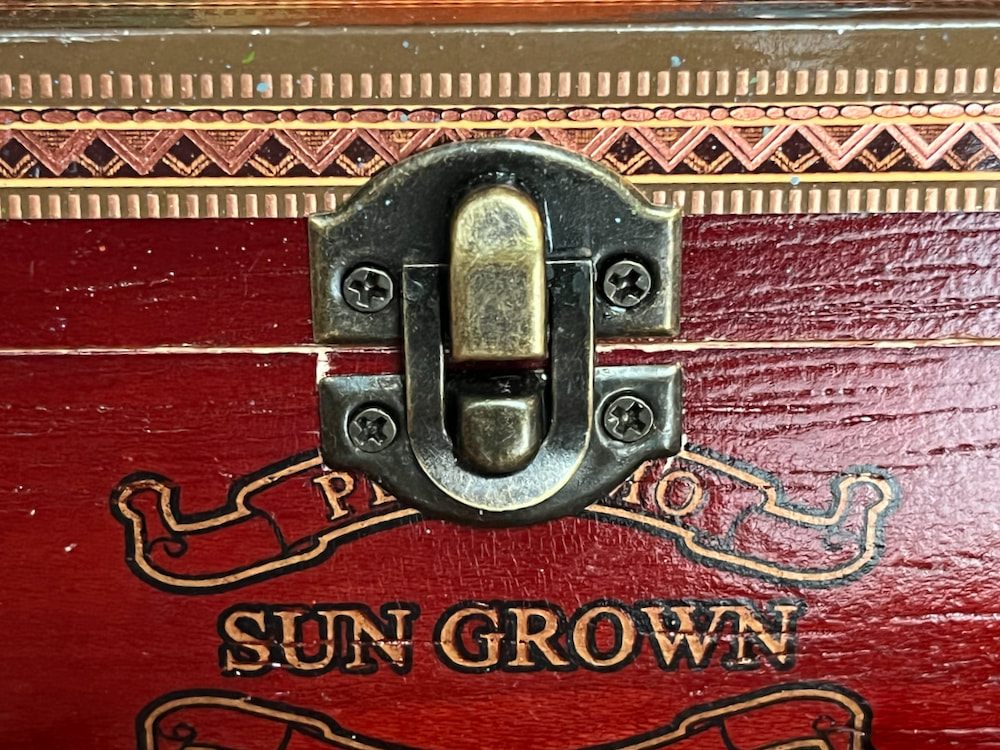
The lowest shelf is intended to hold the supplies below it in place during transport and also hold a small, wet painting in place using an extra big rubber band. I glued spacers (these are paint tube caps) in all 4 corners for the top shelf to rest on without touching the wet painting. The top shelf becomes the palette for my paint colors. The smooth surface is great for laying out and mixing the oil paint. 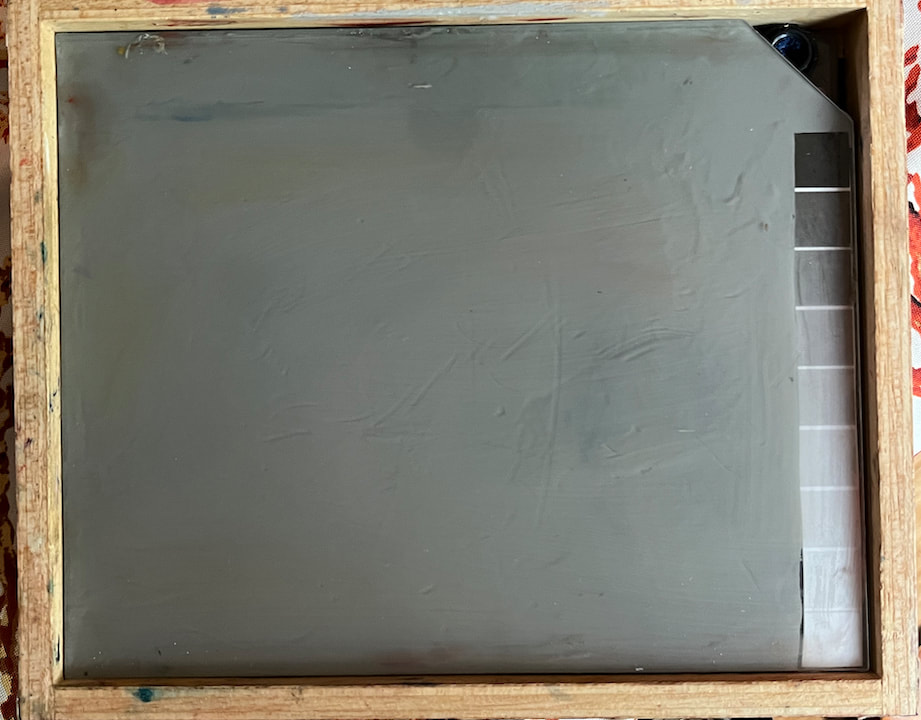 upper shelf Step 6: The box definitely needed a better, stronger latch and a lightweight but sturdy handle. Found these at a hobby store. Not sure which way to attach it ... I think I put the latch on upside down. haha! Again, I needed very short screws to prevent them from going all the way through to the interior. I had to saw off the integral screws that came on the handle and using a nut on the inside of the box to hold them in place, making sure it didn't interfere with the level of shelf supports. A little tricky.
Step 7: Add-ons
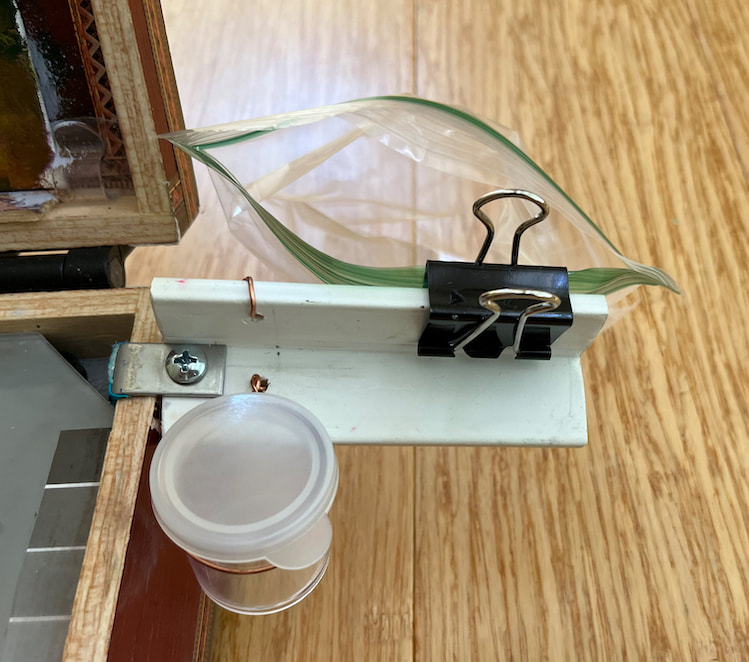
I did a trial run in my backyard and quickly learned that I needed some extras to manage the brushes and solvent: so side-wings were created out of some pvc L trim we had in the garage. Holes were drilled, L-brackets attached, a wire hoop to hold a tiny cup for turp was added. The metal L-bracket slides over the box edges and is held loosely in place by gravity and the plexiglass shelf.
Step 8: Knowing there may be times I'll want to use a larger panel than will fit inside the box lid, I worked out an accessory unit from a light-weight wooden lid I had on hand. Measuring 11x7.5", it could hold panels up to 9x12 using a large 7" rubber band fixing it to the cigar box lid and another band (or clips) to hold the panel on. The extra weight with the larger panel does make the box more difficult to manage.
This was a surprisingly fun project to do, requiring lots of mental planning and measuring and problem solving. Having a small pochade means limiting my color palette, cutting off the ends of paint brushes to fit, finding tiny containers for turp and medium, but it also opens up so many more opportunities to do plein air sketches, to paint on vacations, to be spontaneous. With this box, I can carry at least 2 wet paintings, paint at least 8 different size panels. have at least 6 paint tubes, 4 brushes, plus some other stuff. I'm looking forward to some happy painting!
Thanks for reading my blog!!
6 Comments
Miriam Hansen
9/9/2022 10:11:54 am
You are your mother's daughter and your brothers' sister! What a clever gal you are!
Wendy
10/31/2022 10:37:30 am
Thanks!!
Arlene Phillip
9/9/2022 01:40:03 pm
This is amazing. Congratulations, Wendy. You have now also become an engineer as well as an artist!
Arlene Phillip
9/9/2022 01:42:48 pm
By the way, I love the new paintings in the box.
Wendy
11/5/2022 02:27:58 pm
Thanks, Arlene! I feel so much more bold about painting wherever I am. I had lots of fun in Mexico painting with the ocean waves serenading me :)
Kathleen
9/9/2022 07:51:05 pm
You are brilliant!! I loved the step by step problem solving and the perfect answer to your specific needs. 👏🏻Well done ❤️ Leave a Reply. |